
How to Identify Your Skin Type: A Practical Beginner's Guide
Learn how to identify your skin type accurately with at-home tests, avoid common mistakes, and understand how it changes over time.

How to Identify Your Skin Type: A Practical Guide for Beginners
If you're new to skincare, one of the first and most important steps is figuring out your skin type. But don't expect a quick magic fix or a label slapped on by marketing claims. Real skin type identification requires careful observation, patience, and an understanding that your skin changes over time and with the environment. This guide breaks down the process into the challenges you will actually encounter, offers actionable steps grounded in scientific research and expert consensus, and warns against common beginner mistakes.
Understanding What “Skin Type” Actually Means
Before you run to the drugstore or scroll through endless product descriptions, know that skin type is not just about whether your face feels oily or dry. The American Academy of Dermatology (AAD) defines five primary skin types based on sebum (oil) production, hydration levels, and sensitivity: normal, dry, oily, combination, and sensitive [12]. Sensitive skin is distinct because it reacts with redness, itching, or burning, regardless of oiliness or dryness.
There are more comprehensive systems like the Baumann Skin Type System, which expands classification into 16 phenotypes considering hydration, sensitivity, pigmentation, and elasticity [15]. Meanwhile, the Fitzpatrick scale often confused as a skin type classification, actually categorizes skin by pigmentation and UV response but has documented biases, especially for darker skin tones [2, 11].
For beginners, sticking to the basic five AAD types is a good starting point, but keep in mind that your skin is more nuanced than a single label.
The First Problem: When to Check Your Skin Type
A common beginner mistake is trying to identify skin type immediately after washing your face. This is misleading because cleansing strips oils and disturbs natural hydration balance, causing temporary dryness or tightness that doesn’t reflect your skin’s baseline state [6, 7].
What to do instead:
- Wash your face with a gentle cleanser.
- Wait at least 30 minutes, some experts recommend up to 2-3 hours, without applying any products. This waiting period lets your skin return to its natural state, so you can assess oiliness, dryness, or sensitivity accurately [3, 6].
If you check too soon, you might mistake cleansed skin for dry skin or miss oiliness that appears later.
The Second Problem: Which At-Home Tests Are Reliable?
Two simple tests have stood up to scrutiny for home use:
- The Bare-Face Test: After the waiting period post-cleansing, look and feel your skin. Is it tight and flaky (dry), shiny (oily), or patchy with both dry and oily areas (combination)? Is there redness or itching (sensitive)? [3]
- The Blotting Sheet Test: Press an oil-absorbing sheet on different facial zones after waiting 30 minutes to a few hours post-wash. Observe how much oil the sheet picks up and where. Oil on the forehead, nose, and chin (T-zone) but dryness elsewhere usually indicates combination skin; oil everywhere suggests oily skin; little to no oil points to dry skin [13].
These tests are not perfect and have limitations. Beginners often misinterpret temporary conditions like stress-induced redness or environmental dryness as permanent skin type [8]. Also, no validated alternative or more precise at-home tests exist currently [6].
The Third Problem: Your Skin Type Changes With Environment and Time
Skin isn’t static. Seasonal and environmental factors significantly affect skin characteristics:
- Winter’s low humidity typically reduces skin hydration and increases dryness and scaliness [1, 4].
- Summer heat and humidity often boost sebum production, making skin oilier and prone to breakouts [1].
- Geographic factors like altitude increase UV exposure, accelerating skin aging, while urban pollution adds oxidative stress that can impair skin barrier function [5].
Because of these variables, your skin type can shift from season to season. While no official guidelines exist on how often to reassess your skin type, dermatology experts recommend revisiting your skin’s needs at least seasonally and whenever you change your skincare products [10].
The Fourth Problem: How to Avoid Common Beginner Mistakes
Here are pitfalls that cloud your perception of your true skin type:
- Overwashing: Washing your face more than twice daily can strip oils and disrupt your natural balance, causing rebound oiliness or dryness [3, 7].
- Introducing many new products at once: This can cause irritation or allergic reactions, which you might confuse as your skin type showing through [7].
- Relying solely on product labels: Terms like “for oily skin” or “dry skin formula” are not standardized and can mislead you if you don’t understand your actual skin needs [3].
- Misreading temporary redness or irritation as sensitive skin: Sensitivity is a reactivity trait, not a permanent type, and may require professional diagnosis if persistent [8].
Take your time, introduce one product at a time, and observe how your skin behaves over several weeks.
The Fifth Problem: Can You Objectively Measure Your Skin Type?
Research shows measurable parameters correlate with skin types:
- Oily skin tends to have sebum levels above 70 μg/cm² [14].
- Dry or dehydrated skin shows hydration values below 47.17 corneometric units [14].
- Sensitive skin often has a slightly elevated pH above 5.45, indicating a compromised barrier [14].
These measurements require specialized instruments not usually available outside clinics or labs. They confirm that skin type classification has some objective basis, but for most beginners, self-assessment methods remain the practical approach.
The Sixth Problem: How Age and Skin Tone Affect Skin Type Identification
Skin changes with age. For example, oily skin in youth often becomes drier over time, but quantitative studies on these shifts are limited [12]. Additionally, many traditional skin type classifications don’t account for ethnic and pigmentation differences well. The Fitzpatrick scale’s limitations and biases have been documented, especially in AI dermatology tools [2].
Systems like Baumann’s attempt a more nuanced approach that includes pigmentation and elasticity, but these are complex and not widely used in everyday skincare [15].
If you have darker skin tones or mature skin, take standard skin type identification tools with caution and consider consulting a dermatologist for tailored advice.
Putting It All Together: A Practical Step-by-Step Skin Type Identification Routine
- Choose a day when your skin is calm and you have no active irritation.
- Wash your face with a gentle cleanser. Avoid harsh or stripping products.
- Wait at least 30 minutes, preferably 2-3 hours, without applying any skincare or makeup.
- Perform the bare-face test: Look and feel your skin. Are there shiny areas, flakiness, redness, or itchiness?
- Use a blotting sheet on your forehead, nose, chin, and cheeks. Note where oil appears and how much.
- Compare your observations to the AAD skin type descriptions:
- Normal: Balanced moisture and oil, no sensitivity.
- Dry: Tight, flaky, dull, or rough skin.
- Oily: Shiny appearance, enlarged pores, frequent breakouts.
- Combination: Oily T-zone with dry or normal cheeks.
- Sensitive: Redness, itching, or burning sensations on any skin area.
- Consider environmental factors: Is it winter or summer? Has your skin recently changed due to weather or stress?
- Avoid rushing to buy products labeled for your “assumed” skin type. Introduce treatments gradually and observe how your skin reacts over weeks.
- Reassess seasonally or when environmental conditions change.
- If you experience persistent redness, itching, or unexpected skin changes, consult a board-certified dermatologist rather than self-diagnosing.
Final Notes
Identifying your skin type is a foundation, not a destination. Your skin’s needs evolve with time, environment, and health, so ongoing observation is key. Scientific studies back the basic classification and home testing methods but also highlight their limitations and the slow, modest nature of skincare results overall.
In short: be patient, be methodical, and when in doubt, ask a professional. No product label or marketing claim can replace a clear understanding of your skin’s real condition.
This guide is based on current dermatological consensus and research from sources including the American Academy of Dermatology, clinical studies on skin hydration and sebum, and expert skincare education platforms [1-15].
Frequently Asked Questions
How can I identify my skin type accurately at home?
To identify your skin type at home, wash your face with a gentle cleanser and wait at least 30 minutes to 2-3 hours without applying any products. Then, use the Bare-Face Test by observing how your skin feels, tight and flaky indicates dry skin, shiny suggests oily, and a mix points to combination. You can also try the Blotting Sheet Test by pressing oil-absorbing sheets on different facial areas to see where oil appears.
Why does my skin type change with seasons?
Skin type changes with seasons because environmental factors like humidity and temperature affect hydration and sebum production. In winter, low humidity reduces skin hydration, causing dryness and scaliness, while summer heat and humidity increase oiliness and breakouts. Geographic factors such as altitude and pollution also impact skin condition by increasing UV exposure and oxidative stress.
What are the best tests to determine skin type?
The two best at-home tests are the Bare-Face Test and the Blotting Sheet Test. The Bare-Face Test involves observing your skin’s feel and appearance after waiting a couple of hours post-cleansing. The Blotting Sheet Test uses oil-absorbing sheets to detect oil levels on different facial zones. These methods are simple but require patience and correct timing for accuracy.
How often should I reassess my skin type?
While there are no official guidelines, experts recommend reassessing your skin type at least seasonally and whenever you change skincare products. This helps you adapt your routine to changes caused by environmental factors like weather and pollution, ensuring your skin’s needs are met effectively.
What mistakes should I avoid when identifying my skin type?
Avoid checking your skin type immediately after washing your face, as cleansing strips oils and disturbs hydration. Don’t overwash your face (more than twice daily) or introduce many new products at once, which can cause irritation and confuse your assessment. Also, don’t rely solely on product labels or mistake temporary redness or irritation for sensitive skin.
Sources
- The seasonal variation in skin hydration, sebum, scaliness, brightness and elasticity in Korean females.
- The Impact of Skin Tone Label Granularity on the Performance and Fairness of AI Based Dermatology Image Classification Models
- The No BS Guide to Discovering Your Real Skin Type
- Seasonal Skin Type Changes | Dermatology
- Understanding Environmental Effects on Skin | Paula's Choice
- What Skin Type Do I Have? How to Identify Your Skin Type and Whether It Can Change, Juventude
- Complete Guide to Beginner skincare mistakes for Indian Skin, Belogical Wellness Private Limited
- Find Your True Skin Type
- Skin Check Frequency Guidelines: How Often Is Right (2026) | ScanSkinAI
- How Often Should You Change Your Skincare Routine? | Skincare.com
- Skin Type - an overview | ScienceDirect Topics
- What Is My Skin Type and Why Does It Matter?
- What Skin Type Do I Have? | Determine Your Skin Type | CeraVe
- An objective skin‐type classification based on non‐invasive biophysical parameters - Seo - 2022 - Journal of the European Academy of Dermatology and Venereology - Wiley Online Library
- The Importance of Skin Type: The Baumann Skin Type System | Cosmeceuticals and Cosmetic Ingredients | AccessDermatologyDxRx | McGraw Hill Medical
Related Articles
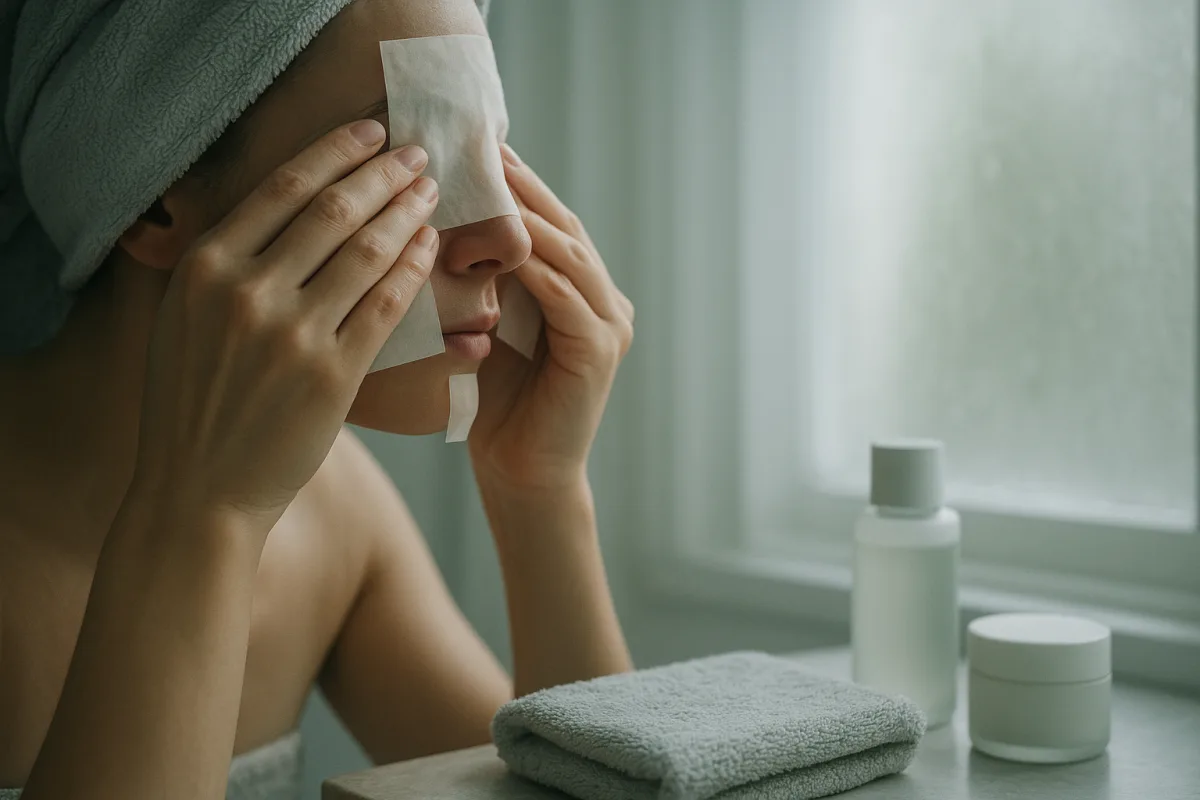
Skin Type Home Test: How to Identify Your Skin Type
Learn how to perform a skin type home test using simple methods like the bare-faced test and blotting paper to identify your skin type accurately.
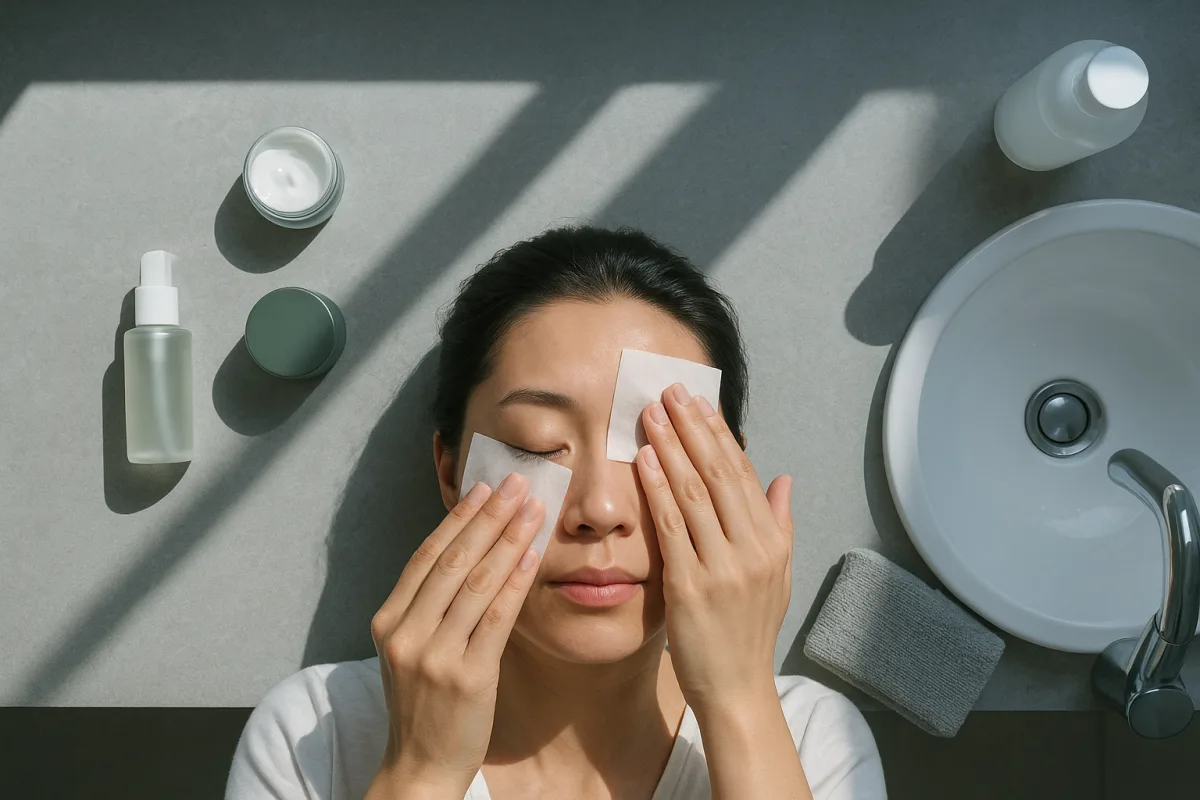
How to Identify Skin Concerns: A Practical Guide
Learn how to identify skin concerns by observing your skin's signs and symptoms to choose the right care and products.
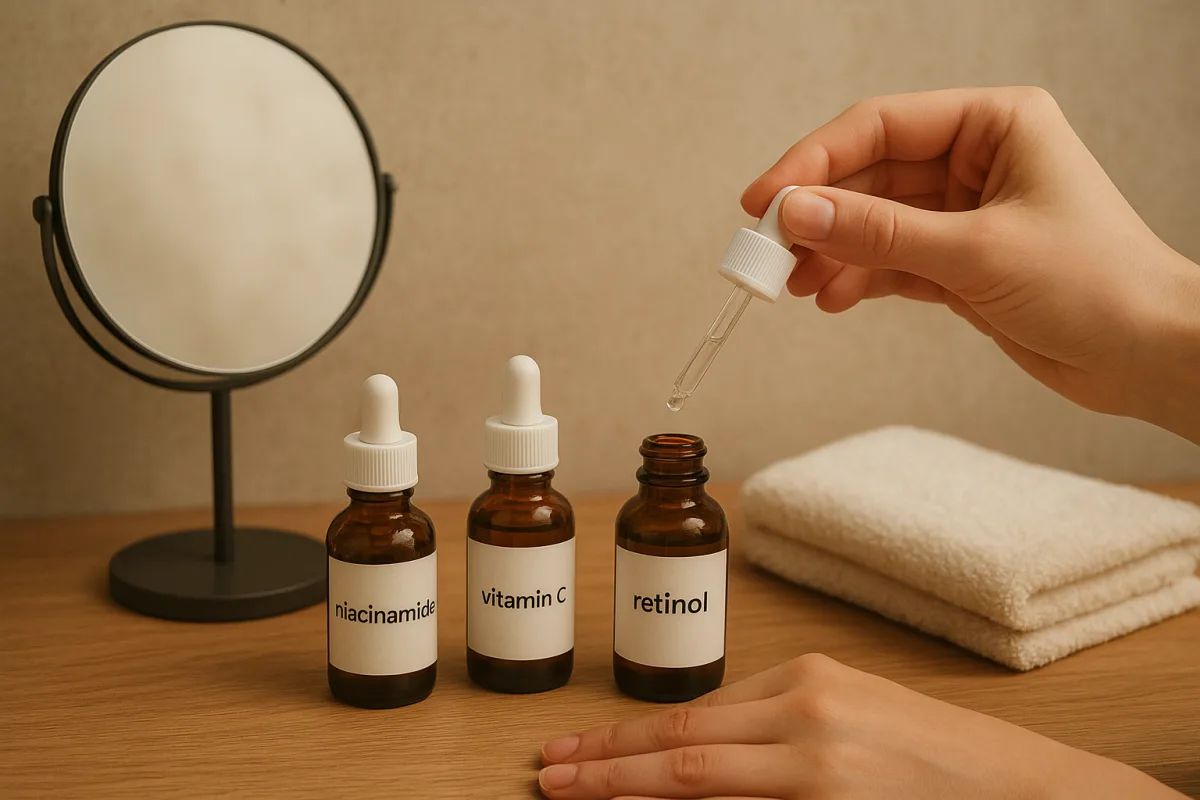
How to Choose a Face Serum for Your Skin Type and Needs
Learn how to choose a face serum based on your skin type, key ingredients, and usage tips for effective skincare results.
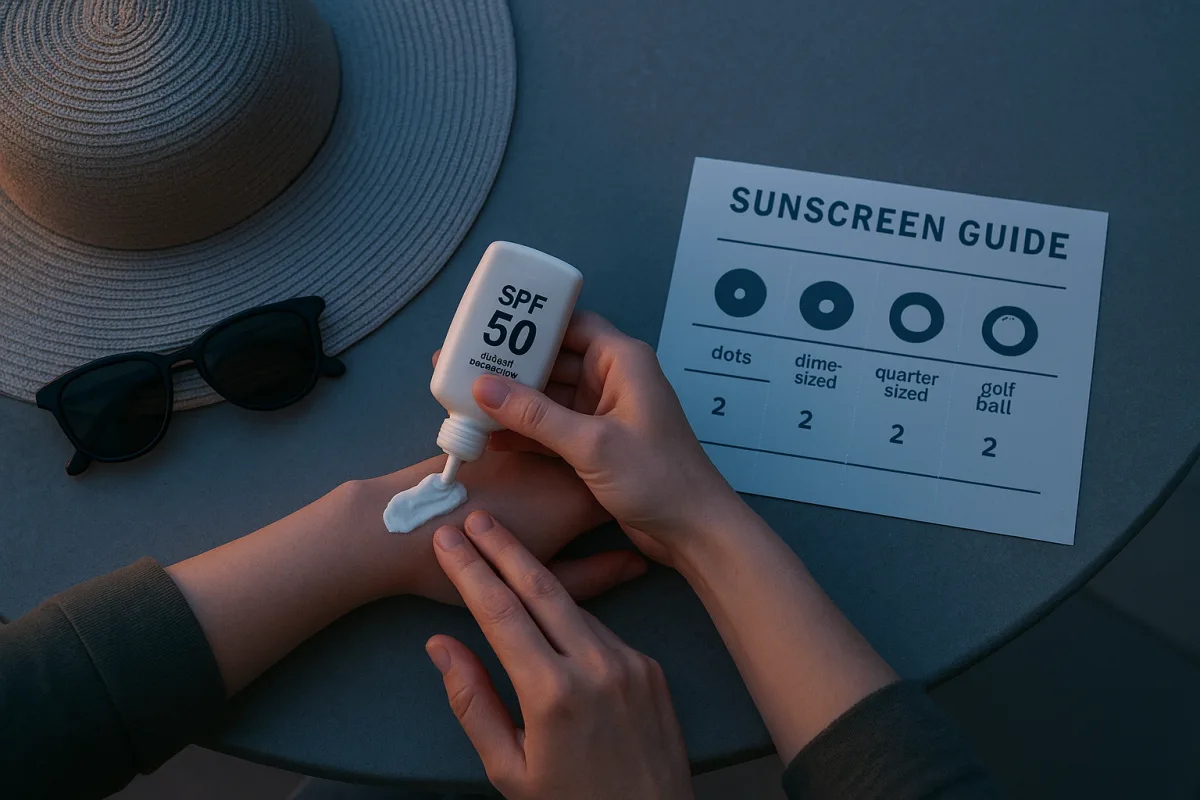
How to Choose a Sunscreen: SPF, Broad Spectrum & Formulas
Learn how to choose a sunscreen with the right SPF, broad spectrum protection, and formula for your skin type and daily needs.